Roof Inspection Checklist for Winter in Connecticut: What a Pro Looks For (and What Homeowners Miss)
Winter roof problems in Connecticut usually aren't "random." They're the result of small issues, loose flashing, a lifted shingle, a clogged gutter, or a warm, damp attic, that get exposed by freeze/thaw cycles, snow load, and wind-driven rain. At Modern Way Roofing, we inspect roofs through the same storms homeowners deal with every year, and the pattern is consistent: the best time to catch a leak is before it becomes a ceiling stain. This checklist gives the straight answers first, then explains what pros look for (and what most homeowners miss).
Why winter roof inspections matter in Connecticut
Freeze/thaw cycles, snow load, and wind-driven rain: what makes CT roofs vulnerable
Here's the bottom line: Connecticut winters attack roofs in multiple ways at once.
A roof can look "fine" in October and still fail in January because winter adds stress that other seasons don't:
- Freeze/thaw expands and contracts materials, opening tiny gaps at flashing and fasteners.
- Snow load adds weight and can expose weak spots in decking, valleys, and gutters.
- Wind-driven rain gets pushed sideways and upward, finding openings around roof penetrations and wall intersections.
- Melt/refreeze creates trapped ice in gutters and at roof edges, which can lead to ice dams and interior leaks.
A winter inspection is less about "finding something dramatic" and more about catching small defects before weather magnifies them.
Small issues that turn into mid-winter emergencies (and why timing matters)
Quick truth: most emergency calls start as fixable, low-cost issues.
A few examples we see all the time:
- A cracked shingle becomes a leak after a thaw.
- Loose chimney flashing becomes a ceiling stain after wind-driven rain.
- A clogged downspout turns into overflowing water that refreezes and pulls gutters loose.
- A warm, damp attic sets the stage for ice dam formation and repeated roof leaks.
If you wait until a drip shows up, you're usually dealing with water that has already soaked insulation or traveled along framing.


When to schedule a winter roof inspection
The best "windows" in late fall and early winter
Best answer: before the first big snow, and again after the first serious storm if your roof is older.
Late fall is ideal because:
- You can safely see roof surfaces, flashing, and gutters.
- Small repairs can be done before cold weather limits what's possible.
- You're less likely to be in "emergency mode" when everyone else is calling too.
Early winter is also a good time if you missed fall, especially if your home has a history of winter roof leaks.
After-storm inspections: what triggers a checkup
If you want a simple rule, it's this: inspect after events that stress the roof.
Common triggers:
- Heavy, wet snow (especially if it piled up fast)
- High winds that can lift shingles or loosen flashing
- A thaw followed by a hard freeze (prime time for leak detection)
- Visible icicles and ice buildup at the roof edge
- New interior staining, even if it's faint
Even if you can't get on the roof, a pro can often diagnose risk areas from the ground plus attic/interior checks.
Homes that should inspect more often (older roofs, complex rooflines, prior leaks)
Some homes are simply at higher risk in winter. You should inspect more often if you have:
- An older roof or unknown installation history
- Multiple valleys, dormers, skylights, chimneys, or roof-to-wall intersections
- Past leaks (even "minor" ones)
- Chronic ice dam issues
- A finished attic or vaulted ceilings (less buffer for moisture problems)
If your roof is complex, small failures tend to show up faster.
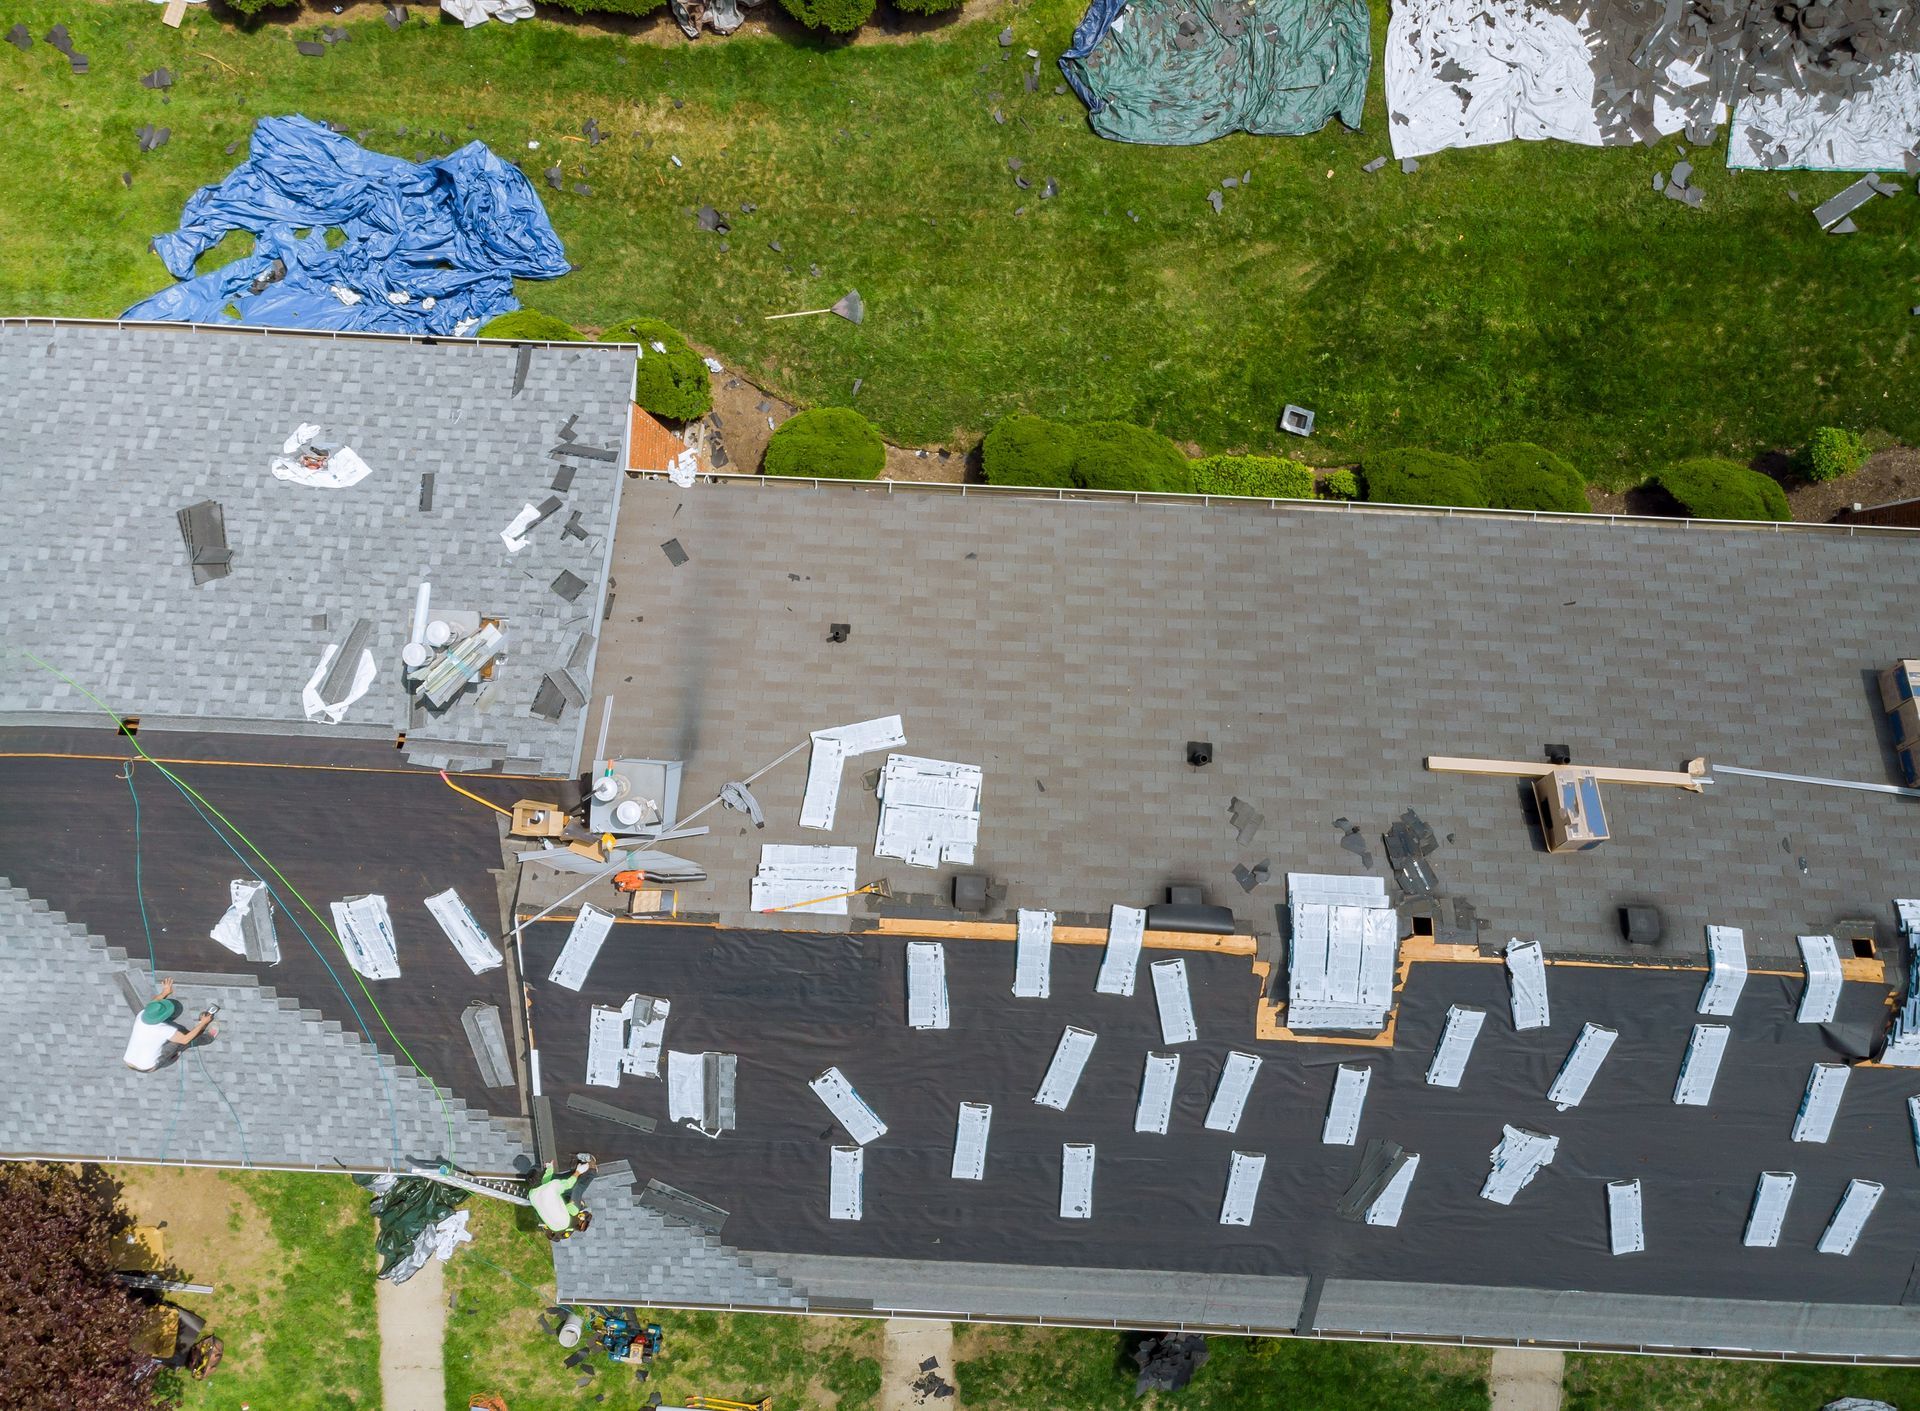
What a professional roof inspection covers
Exterior roof system evaluation
Straight answer: pros look for water entry points and material failure, not just "missing shingles."
A proper exterior inspection checks shingles, valleys, flashing, roof edges, and penetrations. It also looks for subtle clues like granule loss and seal strip failure that indicate shingles are aging.
Interior and attic evaluation
This is what homeowners miss most: many winter roof problems start in the attic.
Pros look for attic moisture, ventilation performance, insulation gaps, and attic air leaks, because those factors drive ice dams and condensation that can mimic roof leaks.
Drainage and perimeter components (gutters, fascia, soffits)
Drainage is a winter multiplier. A good inspection includes:
- Gutters and downspouts (clogs, slope, fasteners)
- Fascia and soffit condition
- Signs of trapped ice or overflow patterns
Documentation and repair prioritization (what gets fixed first)
A pro inspection should end with clear priorities:
- What's urgent (active leak risk)
- What should be scheduled soon (preventive roof maintenance)
- What can wait (cosmetic or low-risk items)
That's the difference between a real inspection and a quick glance.
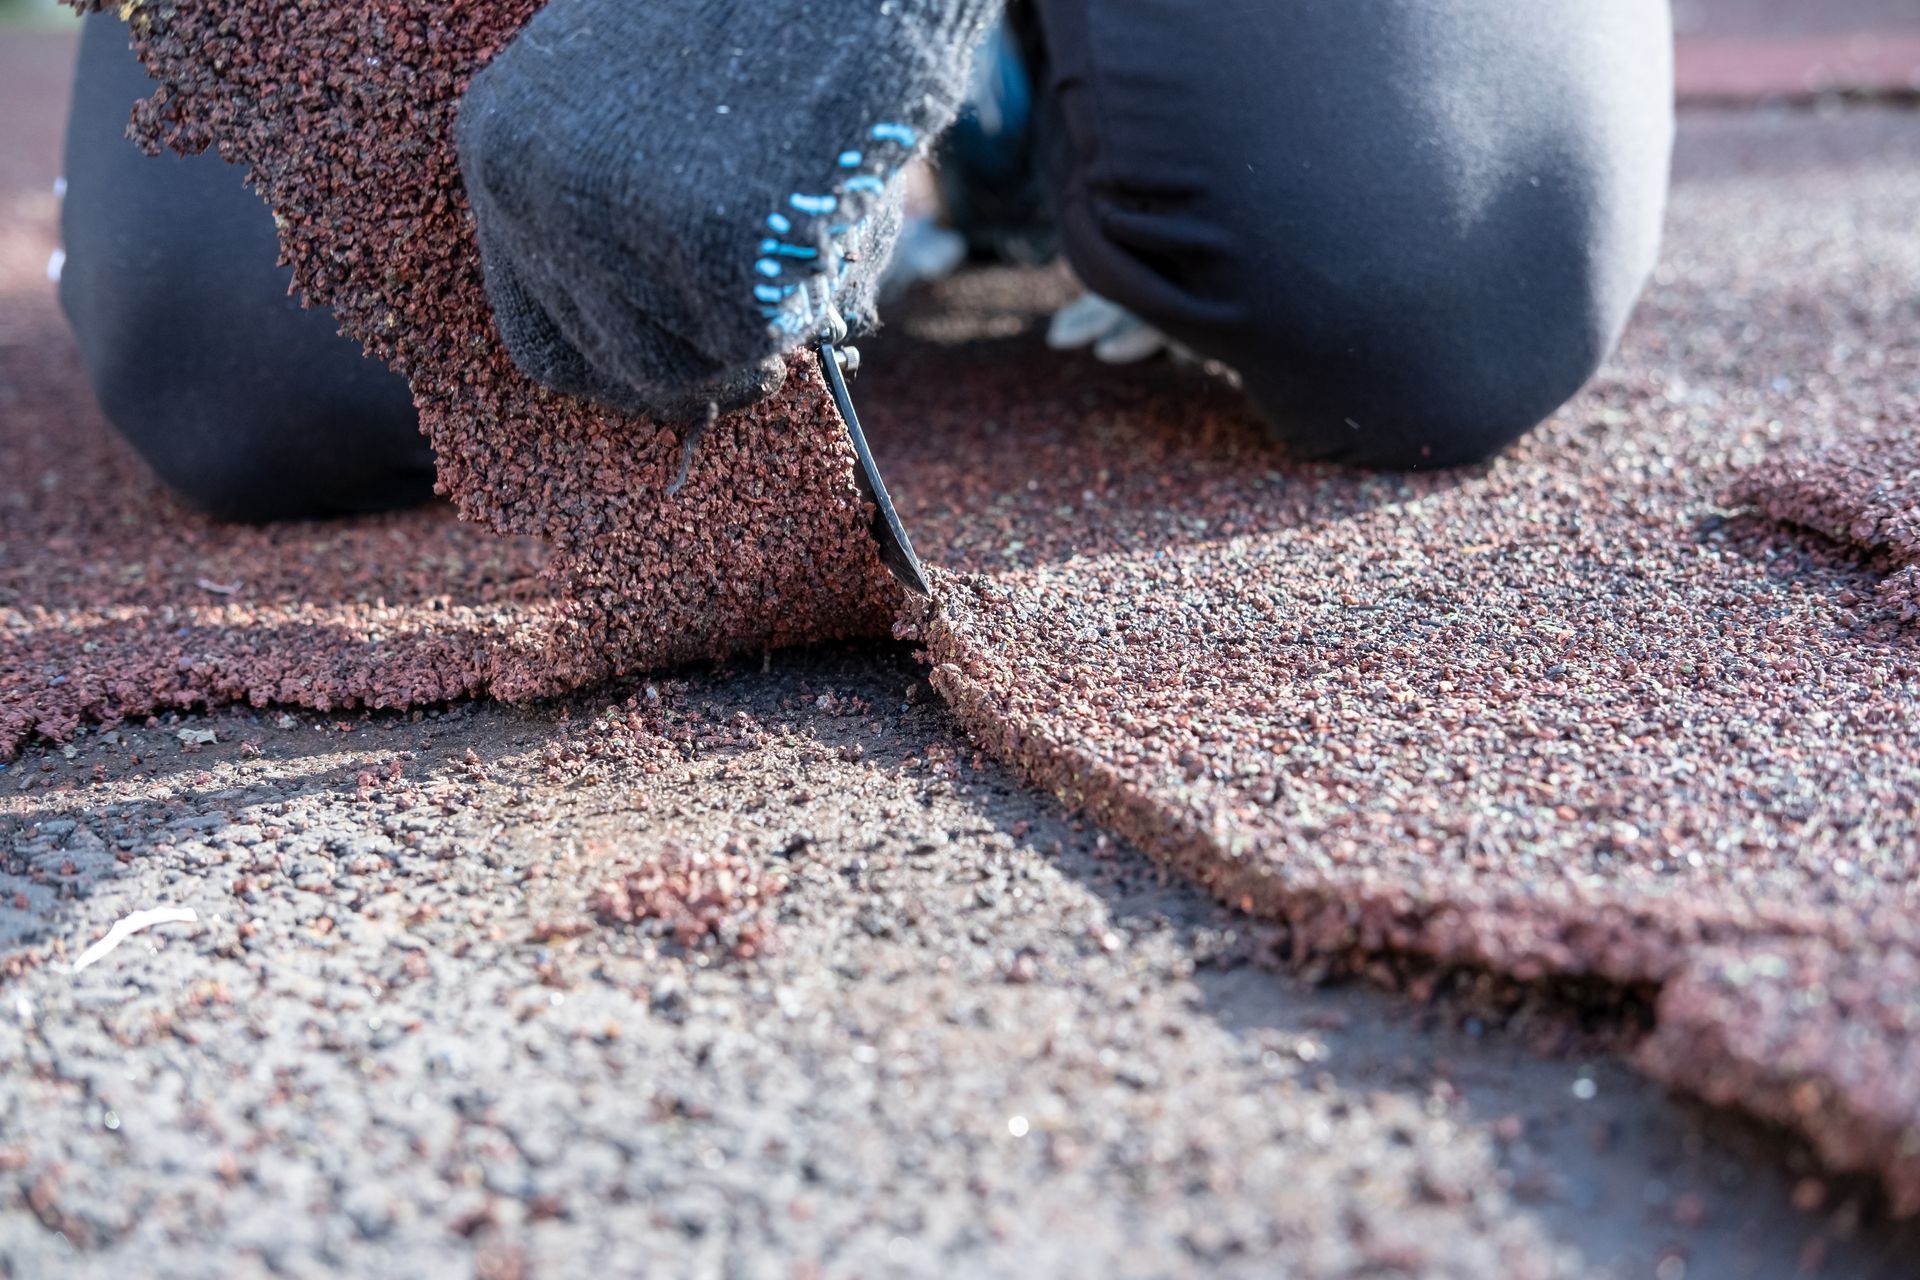
Exterior checklist: what a pro looks for on the roof surface
Shingles and surface materials
Bottom line: shingles fail in small ways before they fail in big ways.
Pros check for:
- Missing, cracked, lifted, or curling shingles
- Brittle shingles (often from age and cold)
- Granule loss in gutters or at downspout exits
- Exposed nail heads and popped fasteners
- Dark streaks or uneven wear patterns
- Soft spots that can hint at roof decking issues underneath
A homeowner might only notice "one shingle looks weird." A pro looks for patterns that predict where leaks will start.
Roof valleys and transitions
Valleys are a top leak zone because they carry a lot of water. A winter roof inspection should include:
- Debris buildup (leaves and needles trap moisture and ice)
- Wear lines where water channels repeatedly
- Lifted edges or cracked sealant at transitions
- Pitch changes and add-on connections that create weak seams
If you've ever had a leak, there's a good chance it involved a valley or a transition detail.
Roof edges, eaves, and rakes
Here's the truth: roof edges take the most winter abuse.
Pros look for:
- Drip edge condition and proper attachment
- Edge lifting where wind can grab shingles
- Vulnerable starter courses at the eaves
- Early signs of ice dam setup (ice buildup and overflow stains)
If you're seeing icicles, the roof edge deserves a closer look, not because icicles are "bad," but because they're evidence of melt/refreeze behavior.
Flashing checklist: the highest-risk leak areas
Chimney flashing and masonry joints
Chimneys move differently than roofs, and winter makes gaps worse. Pros check:
- Counterflashing and step flashing integrity
- Cracked caulking or open mortar joints
- Rusted or lifted metal edges
If water stains appear near a chimney chase, flashing is often the first suspect.
Skylight flashing and perimeter seals
Skylights are leak-prone if the flashing system isn't perfect. Inspections look for:
- Loose perimeter flashing
- Seal failures at joints
- Water staining around the skylight shaft inside
A skylight leak can show up far from the skylight itself due to water traveling along framing.
Vent pipe boots and roof penetrations
Vent boots crack over time, especially with UV exposure and cold. Pros check:
- Split rubber collars
- Loose flashing plates
- Gaps at fasteners and seal points
Penetrations are small areas with big consequences in winter.
Sidewall/headwall flashing where roofs meet walls
This is a common "slow leak" zone. Pros inspect:
- Proper step flashing at sidewalls
- Headwall flashing where roof planes terminate into walls
- Signs of water tracking behind siding
If your roof meets a wall (especially near dormers), flashing detail matters a lot.
Common homeowner miss: "caulk-only" patches that fail in winter
Quick warning: caulk is not a flashing system.
Caulk shrinks and cracks in cold weather. If a past repair looks like "just a bead of sealant," it deserves extra scrutiny before winter gets worse.
Drainage checklist: gutters, downspouts, and runoff control
Clogs, slope problems, and standing water
This is simple: water has to move, even in winter.
A pro checks for:
- Clogged gutters and clogged downspouts
- Incorrect gutter slope (water sitting instead of draining)
- Standing water that freezes and expands
Even a partial clog can cause overflow that soaks fascia and refreezes at the edge.
Loose fasteners, sagging sections, and gutter separation
Sagging gutters are more than cosmetic. In winter, they can:
- Hold ice, adding weight and stress
- Pull away from the fascia
- Create overflow paths that show up as interior leaks later
A gutter inspection should include fasteners, seams, and end caps.
Downspout discharge issues (ice buildup at walkways/foundations)
If discharge points freeze, water backs up. Pros look for:
- Downspouts dumping too close to the home
- Ice buildup at exits
- Signs of repeated overflow on siding or trim
Why drainage problems increase ice dams and interior leaks
Bottom line: bad drainage makes meltwater refreeze where you don't want it.
When gutters and downspouts can't move water away, that water freezes at the roof edge, contributes to trapped ice, and increases the odds of ice dam formation.
Attic checklist: where winter roof problems actually start
Insulation coverage and problem spots
Straight answer: uneven insulation creates uneven roof temperatures.
Pros look for:
- Thin areas and insulation gaps
- Compressed insulation (often near the eaves)
- Exposed attic floor sections
- Damp insulation (a major red flag)
Wet insulation also loses R-value, which can worsen melting and repeat problems.
Ventilation performance
Ventilation isn't just "nice to have." In winter it helps control roof temperature and attic moisture.
Pros check:
- Blocked soffit vents (often clogged by insulation)
- Ridge vents that aren't exhausting well
- Baffles that keep airflow channels open
- Signs of trapped moisture (frost, damp decking)
Air leaks and heat loss (ice-dam fuel)
This is the big one: warm air leaking into the attic is ice-dam fuel.
Common leak points include:
- Attic hatches and pull-down stairs
- Recessed lights
- Plumbing stacks and wiring holes
- Duct penetrations
- Bathroom fan venting into attic (a major moisture source)
Sealing these leaks often reduces ice dam risk more than anything else.
Moisture red flags
Pros look for signs you can't ignore:
- Frost in attic, especially on nails
- Moisture intrusion patterns on roof decking
- Water stains on rafters or decking
- Rusty nails in attic
- Mold or musty attic smell
Moisture doesn't just cause damage, it also signals ventilation and air sealing issues that drive winter failures.
Interior checklist: what pros look for inside the home
Ceiling and wall staining patterns that point to roof entry points
A stain isn't just a stain, it's a clue. Pros note:
- How close it is to an exterior wall
- Whether it worsens after thaws or rain
- If it aligns with a valley, chimney, or penetration above
Leak detection often comes down to matching interior clues with exterior risk zones.
Peeling paint, bubbling drywall, and trim swelling near exterior walls
These signs often show up before you get an obvious drip. If you see bubbling drywall or peeling paint, assume water is present and act early.
Hidden leak clues in closets, attic access points, and chimney chases
Some leaks hide in low-traffic spots:
- Closet ceilings on exterior walls
- Around attic pull-downs
- Chimney chases
- Upper corners of rooms
Pros check these areas because they're where "slow leaks" show up first.
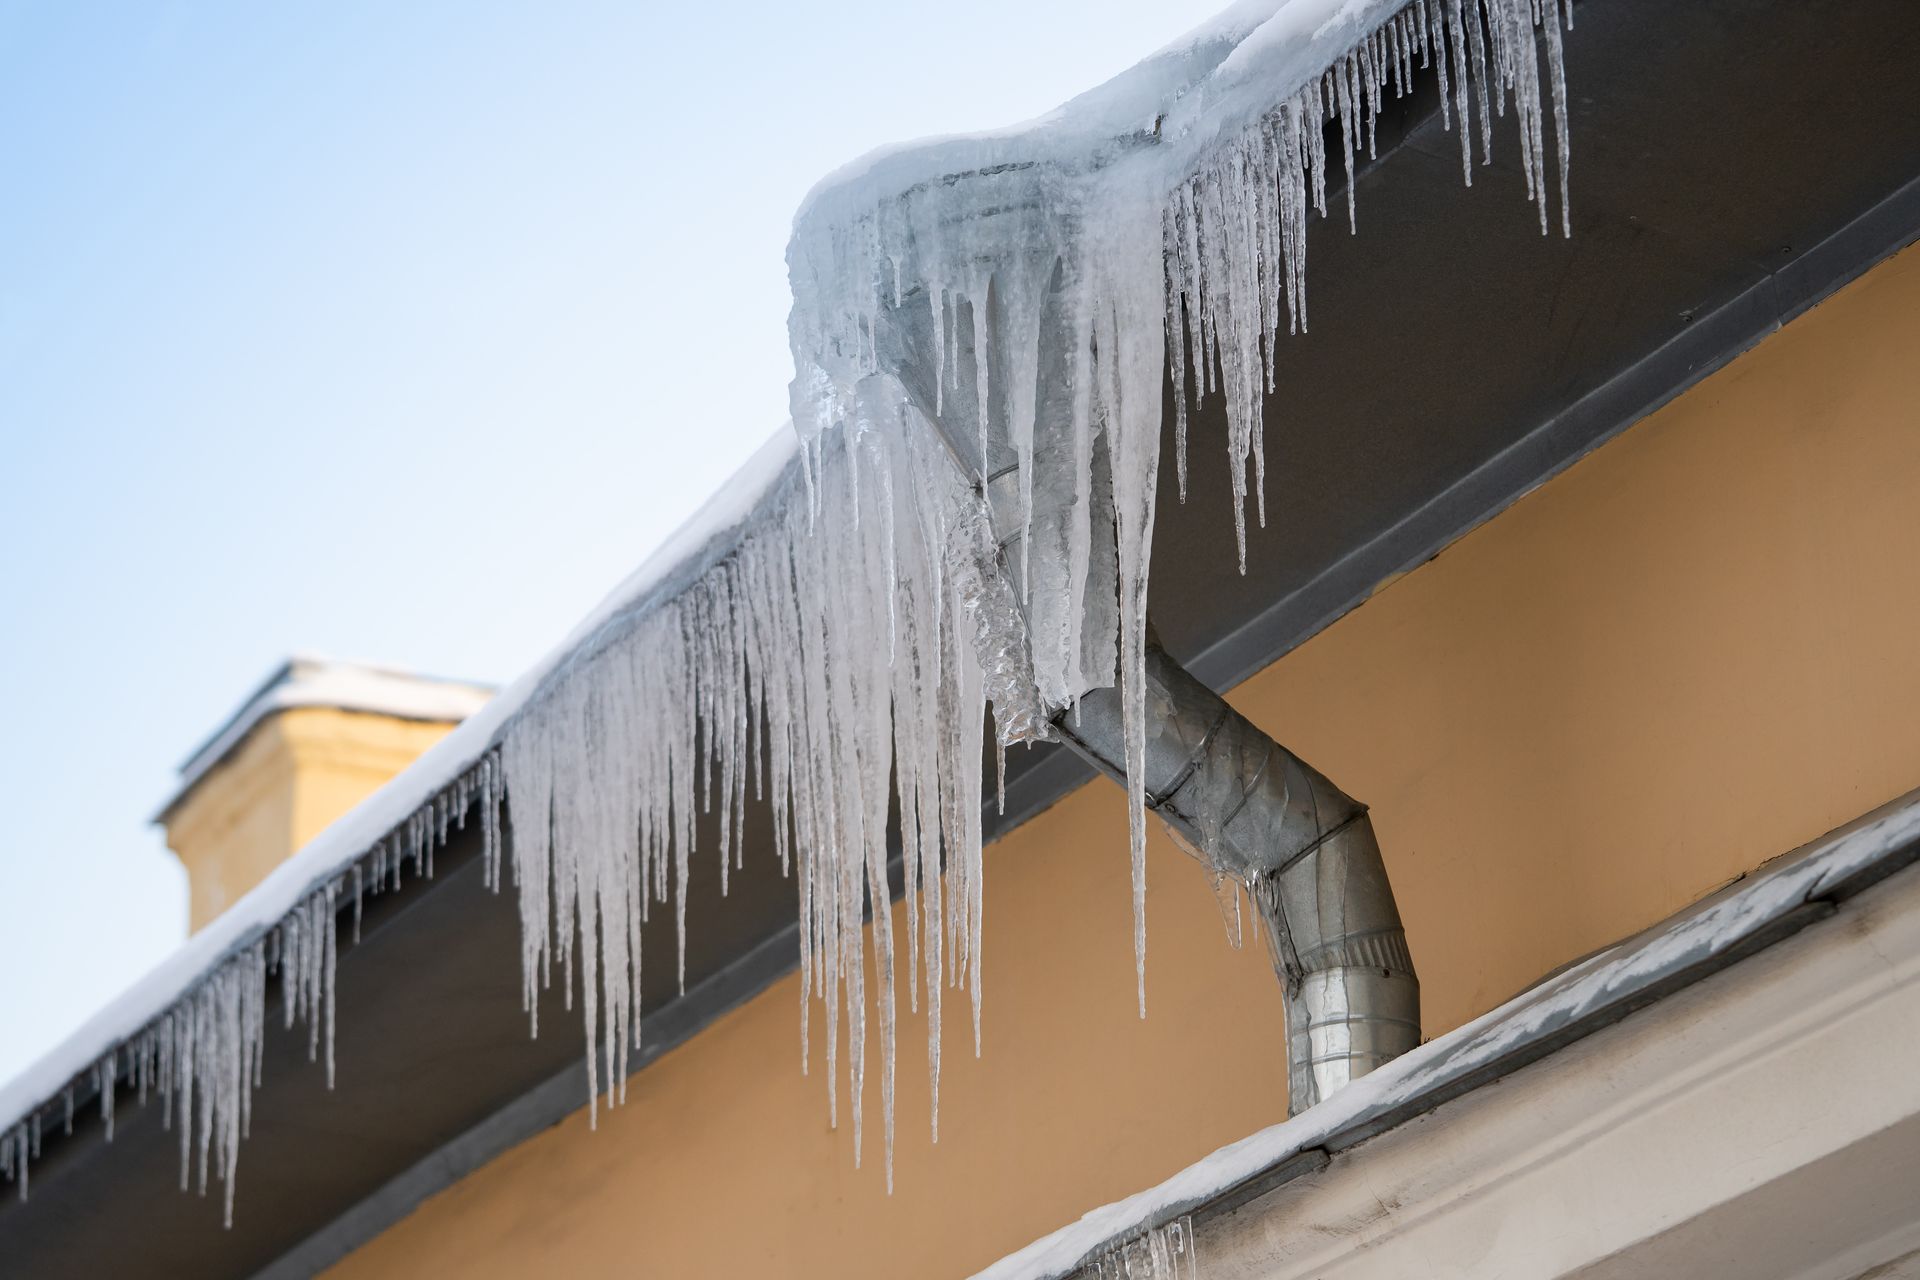
"What homeowners miss" section: the sneaky issues that cause winter leaks
Thinking icicles are normal (when they're a warning sign)
Icicles can be common, but they still tell you something: meltwater is refreezing at the edge. If icicles are large and persistent, it's worth checking attic heat loss and roof edge conditions.
Ignoring small flashing gaps because they're "not leaking yet"
Winter turns small gaps into big problems. A tiny opening at flashing can become a leak when water backs up under snow and ice.
Assuming gutters only matter in rain, not snow
Gutters matter in winter because meltwater still has to drain. Clogs and frozen downspouts make overflow and refreezing more likely.
Skipping the attic check entirely (and missing heat/moisture problems)
Homeowners often focus on shingles only. Pros know attic air leaks, insulation gaps, and ventilation issues create many winter problems.
Quick DIY fixes that backfire in freezing temps
Temporary patches can fail quickly in cold weather, especially "caulk-only" fixes or aggressive ice removal that damages shingles and flashing.
Winter-specific risks to evaluate during the inspection
Ice dam risk factors checklist (heat loss, ventilation, roof edge conditions)
If you want the short version: heat + snow + poor drainage = ice dam risk. Pros assess the full combo: attic heat loss, ventilation balance, insulation coverage, and roof edge vulnerability.
Snow load and structural stress indicators
Heavy snow can stress weak decking, fasteners, and gutters. Pros look for sagging, shifting, and signs that areas are holding snow or ice longer than they should.
Wind damage susceptibility (lift points, exposed edges, loose components)
Winter winds can lift shingles at edges, rakes, and ridges. Once a shingle edge is compromised, wind-driven rain finds a path. If you've experienced severe weather, storm damage roof repair may be necessary.
Condensation risk and mold potential from trapped moisture
A warm, moist attic can create condensation that looks like a roof leak. That's why attic ventilation and bathroom fan venting matter so much in a winter roof inspection.
What to do after the inspection: prioritizing fixes before the next storm
Immediate repairs that prevent emergencies
If the inspection finds active leak risk, the highest-priority fixes usually include:
- Flashing repairs at chimneys, skylights, and penetrations
- Replacing damaged shingles
- Sealing obvious entry points properly (not just surface caulk)
These are the items that turn into emergency roof repair when ignored.
Preventive upgrades that reduce repeat issues
Preventive roof maintenance often focuses on:
- Ventilation adjustments and airflow corrections
- Insulation improvements where coverage is uneven
- Targeted air sealing to reduce attic heat loss
These upgrades reduce the conditions that create repeat winter leaks.
Ongoing maintenance moves that make winter easier
This is where a roof maintenance checklist helps. Typical items include gutter cleaning, safe snow management planning, and trimming overhanging branches that drop debris into valleys and gutters.
A simple winter roof maintenance rhythm for Connecticut homeowners
Pre-winter prep
Clean gutters, check visible flashing, and address small shingle issues before the first big storm. This is the easiest time to prevent problems.
Mid-winter monitoring after snow + warm-ups
After snowfalls followed by sun or a thaw, monitor roof edges for ice buildup and check ceilings for early stains. Catching a problem early can save major repairs later.
Post-winter follow-up to catch damage early
When winter ends, schedule a seasonal roof inspection to confirm nothing loosened, shifted, or leaked during the harshest months. Spring is also a great time to plan permanent improvements.
Book a winter roof inspection to catch small issues before they turn into leaks
If you want peace of mind heading into the next storm, book a winter roof inspection and ask for a clear priority list. It's the simplest way to catch small issues, before Connecticut weather turns them into a leak.
Frequently Asked Questions About Winter Roof Inspections
How much does a professional winter roof inspection cost in Connecticut?
Most professional roof inspections in Connecticut range from $150 to $400, depending on roof size, complexity, and accessibility. Many roofing companies offer free inspections if you're considering repairs or maintenance work. The investment is minimal compared to the cost of emergency repairs from an undetected leak, especially when you factor in potential water damage to insulation, drywall, and framing.
Can I do a roof inspection myself, or should I always hire a professional?
You can do a basic ground-level inspection yourself, checking for visible damage, monitoring ice buildup, and examining your attic for moisture signs. However, professionals can safely access the roof surface, identify subtle flashing failures, and spot issues that aren't visible from the ground. For older roofs, complex rooflines, or after severe weather events, professional expertise is worth it. Safety is also a major factor: icy roofs and ladders create serious fall risks.
What's the difference between a regular roof inspection and a winter-specific inspection?
A winter inspection focuses on cold-weather vulnerabilities that standard inspections may not emphasize. This includes evaluating ice dam risk factors (attic heat loss, ventilation, insulation gaps), checking for freeze/thaw damage to flashing and shingles, assessing snow load capacity, examining drainage for ice blockages, and identifying wind-driven rain entry points. Winter inspections also prioritize attic conditions more heavily since heat and moisture problems become critical during freezing months.
If my roof passed inspection in the fall, do I still need to check it after a major winter storm?
Yes, especially after heavy snow, high winds, or freeze/thaw cycles. Even a roof in good condition can develop issues when stressed by winter weather. Storm-triggered inspections help catch new damage, like lifted shingles from wind, ice dam formation, or gutter separation from ice weight, before they turn into leaks. Think of fall inspections as prevention and post-storm checks as damage control.
What should I do if the inspection finds multiple issues but I can't afford to fix everything right away?
Ask your roofer to prioritize repairs based on leak risk and urgency. Active flashing failures, damaged shingles in vulnerable areas (valleys, penetrations), and severe drainage problems should be addressed first since these create immediate leak risk. Preventive upgrades like improved ventilation or insulation can often wait until spring or be phased over time. A good professional will give you a clear priority list so you can make informed decisions about timing and budget.
Recent Posts