
Emergency Roof Repair in Watertown
Fast Response for Urgent Roofing Situations in Waterbury, Greater New Haven, and Across Connecticut
When your roof is actively leaking or has taken sudden damage, every hour counts. Water doesn't wait for a convenient time to cause problems, and what starts as an exposed section or a compromised flashing can turn into soaked insulation, damaged ceilings, and mold growth faster than you'd expect. When something goes wrong with your roof and you need help now, Modern Way Roofing is the crew to call.
We serve homeowners across Connecticut and we mobilize quickly for urgent roofing situations. Our team arrives prepared to assess the damage, stop the immediate threat, and give you a clear plan for what comes next.
Need emergency roof repair in Watertown? Call (860) 590-4828 or contact us online to schedule your free estimate. We mobilize quickly and keep you informed every step of the way.
How We Handle Roofing Emergencies
When you're dealing with an emergency, the last thing you need is a contractor who shows up unprepared or takes days to respond. We keep our crew ready to move on urgent jobs and we arrive on site with the materials and tools to address the most common emergency situations without delay. Speed matters, but so does doing it right, and we don't cut corners just because the situation is urgent.
Here's what you can count on when you call Modern Way Roofing for an emergency repair:
- Fast mobilization – When you describe an active leak or sudden structural damage, we prioritize getting a crew to your property without delay. We know the longer your roof is exposed, the more damage accumulates inside your home.
- Thorough damage assessment – Before we do anything, we get on the roof and identify the full scope of the problem. A proper assessment keeps us from missing secondary damage that could cause issues down the road.
- Emergency dry-in and temporary protection – If the damage is too extensive for a permanent repair in one visit, we apply a secure temporary solution to stop water intrusion and protect your home until the full repair is completed.
- Clear communication throughout – We walk you through exactly what we found, what we did, and what the next steps are. You won't be left guessing about the condition of your roof or what comes next.
- Photo documentation of all damage – We document everything we find with photos, which is especially useful if you plan to file a homeowner's insurance claim for the damage.
When a roofing emergency hits, having a local team you can trust makes all the difference. We've handled urgent repairs across Connecticut in all kinds of conditions, and we bring that experience to every call.
Common Roofing Emergencies We Handle
Roofing emergencies come in different forms, and not all of them look dramatic from the outside. Some of the most damaging situations develop quietly, with water finding its way in through a small breach that goes unnoticed until it's already caused real harm inside the home. Knowing what qualifies as an urgent situation can help you act before the damage compounds.
Here are the most common emergency roofing situations we respond to:
- Active roof leaks
- Wind damage and missing shingles
- Tree or debris impact damage
- Damaged or collapsed roof sections
- Ice dam damage and water backup
- Failed or lifted flashing
- Storm damage following high winds or hail
- EPDM tears and seam splits on flats

Over 200 Google Reviews️
Trusted By Hundreds of Homeowners Throughout Connecticut
-
“Danny was great about letting us know what would happen and when. The installers did a great job despite having to deal with some unforeseen weather conditions.”Mike O.
-
“They are well organized and take care of all your needs. Answer all your questions. I highly recommend this company!”Mirella B.
-
“The roof was completed within one day, and the clean up crew were awesome!! Everybody worked together very professionally.”Bettye S.
-
“The team was excellent to work with and the project was completed faster than I expected. I highly recommend Modern Way Roofing.”John S.
-
“Danny and his team explained the process thoroughly and delivered exactly what was promised.”Adam O.
-
“They handled the solar panels carefully, replaced the roof quickly, and made sure my property was spotless afterward. I was really impressed with how clean they left everything.”Reginald G.
-
“From contacting my insurance company, submitting my claim and finishing my brand new roof they have been incredibly helpful.”Lisa A.
-
“It’s a big roof so wasn’t easy and they even got rid of some old satellite dishes that weren’t on the roof but helped me out.”David C.
-
“Danny and his guys were all excellent to them, and so was the work. They communicated every step of the process to my parents and myself, and the work was amazing.”Camden G.

Local Work, Lasting Results
See Our Roofing Projects
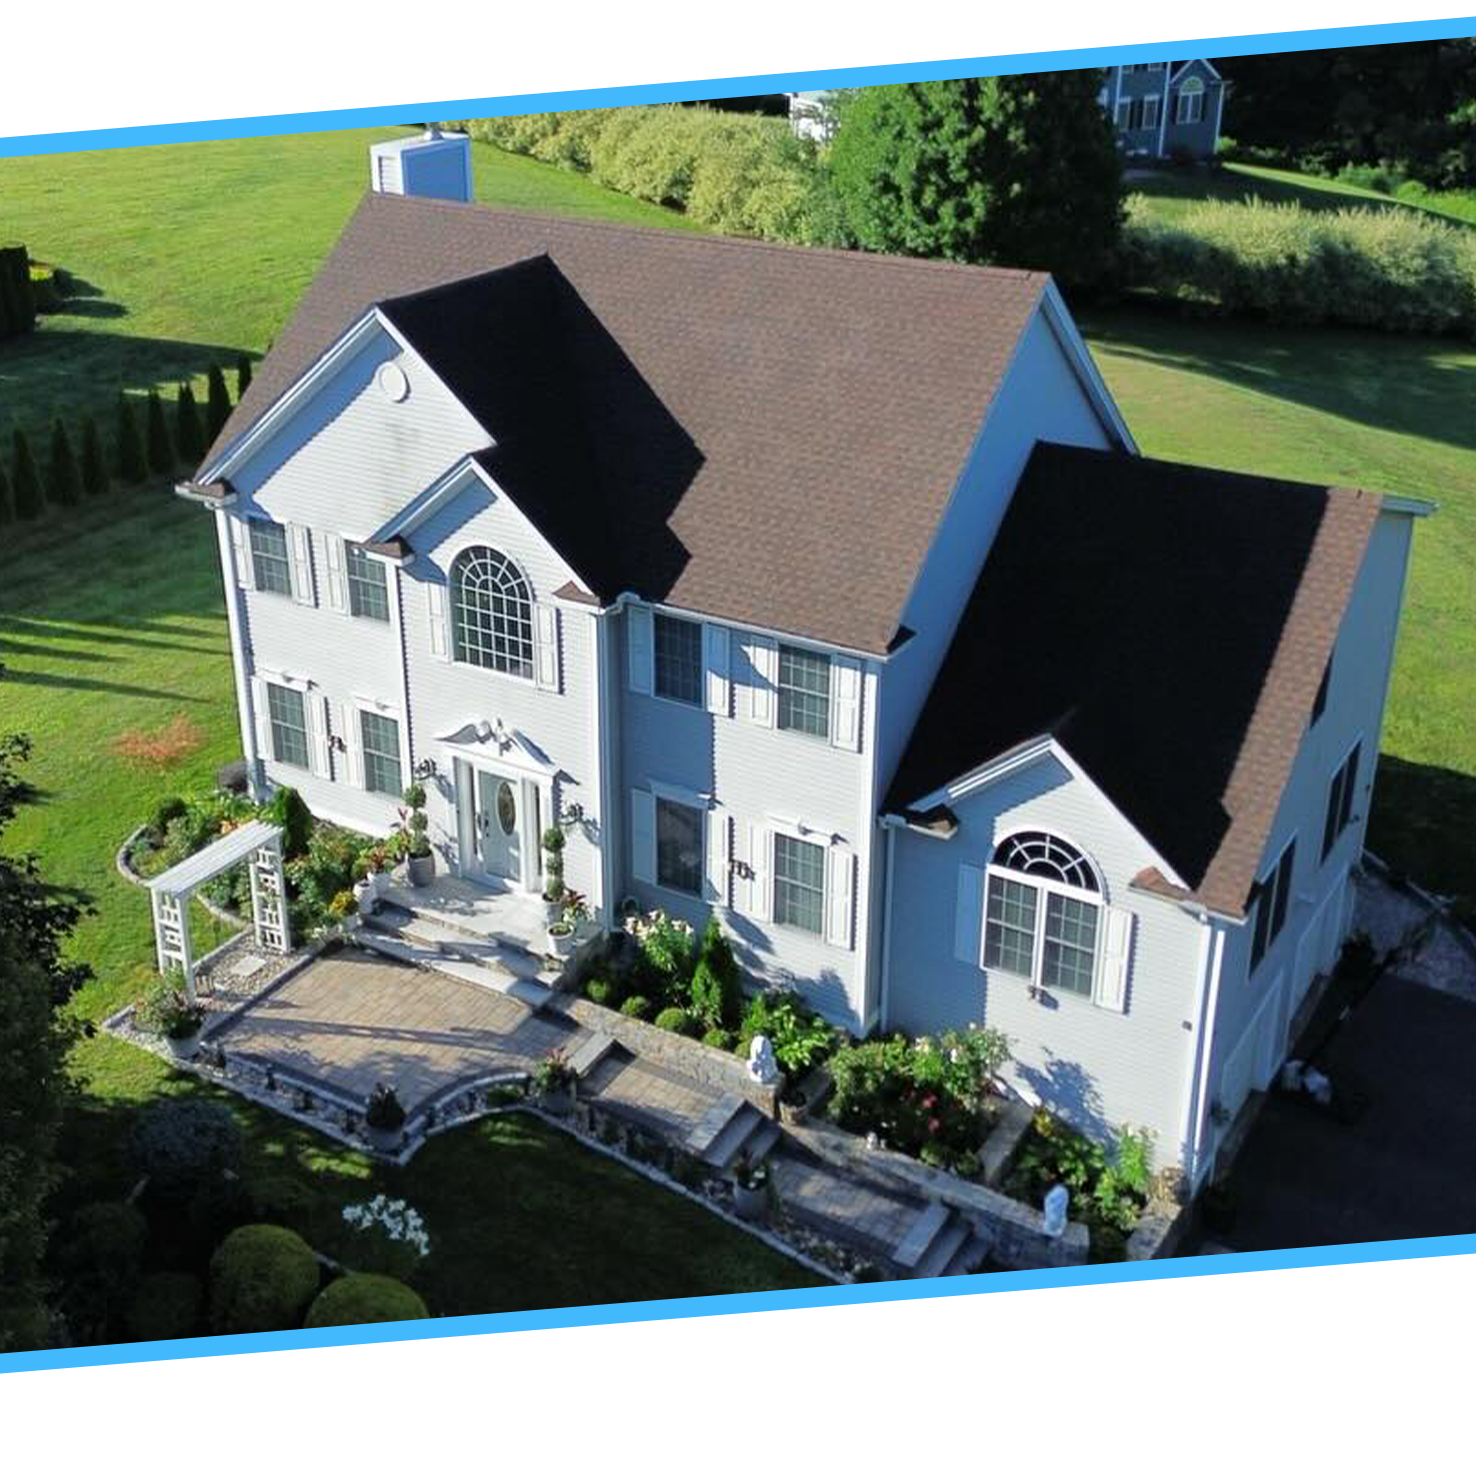
We’ve helped hundreds of homeowners in Connecticut protect and enhance their properties with durable, great-looking roofs. Take a look at some of our recent projects to see the quality and care that go into every Modern Way Roofing job.


Areas We Serve
Based in Watertown, Proudly Serving All of Connecticut
Working statewide—with a special focus on premium projects in Fairfield County—our team is ready to roll wherever your roof needs us.
- Bristol, CT
- Naugatuck, CT
- Thomaston, CT
- Torrington, CT
- Waterbury, CT
- Watertown, CT
Why Choose Modern Way Roofing
-
1000+ Roofs CompletedFrom quick leak fixes to full tear-offs, we’ve delivered 1,000+ clean, code-correct installs across Connecticut—on time, on budget, and photo-verified for quality.
-
Locally Owned & OperatedBorn and built in Watertown, we answer the phone, show up when we say, and stand behind our work. Friendly crews, fair quotes, and service that feels like a neighbor.
-
30 Roofing Experts & GrowingYour roof is handled by trained, in-house pros—project managers, installers, and service techs who know New England roofs. More hands on deck = faster turnarounds and tidy jobsites.
Whether you need a full roof replacement, a quick repair, or a professional inspection — we’re just a call away. Contact our team, and we will get back to you quickly to schedule your free quote. For more information about our services or to get a free estimate, contact us, and we’ll get back to you as soon as we can.